Categories
Uncategorized

Do I Need An Electrician To Replace A Thermostat

Do I need an electrician to replace a thermostat?

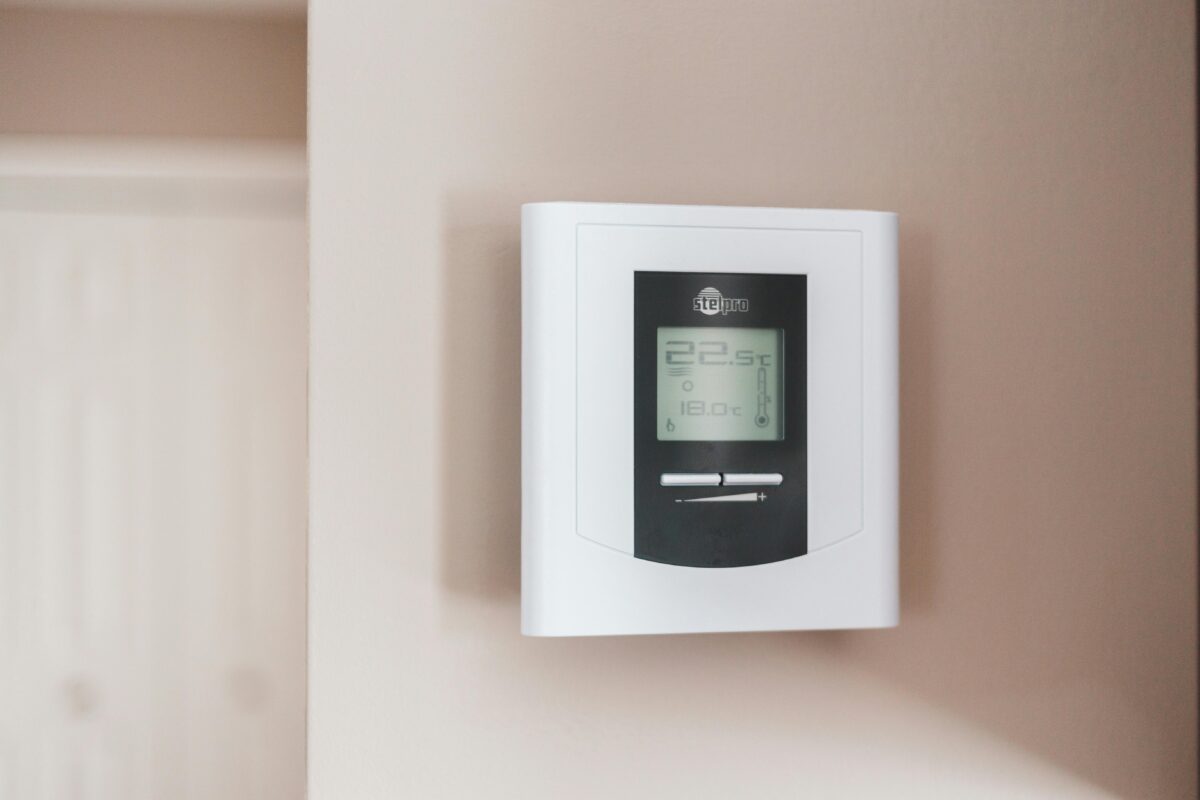
Thermostat that has recently been replaced

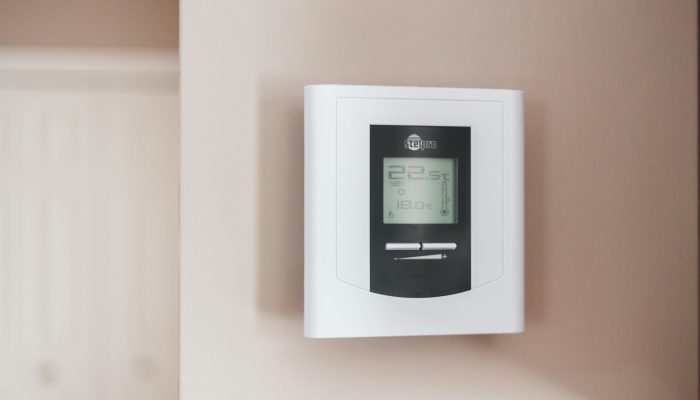
Replacing or installing a thermostat in your home is a task that might seem straightforward at first glance. However, whether you need an electrician to replace a thermostat depends on several factors, including the type of thermostat, your comfort level with carrying out electrical work, and the specifics of your home’s heating, ventilation, and air conditioning (HVAC) system.

In this article, we’ll discuss how a thermostat works and whether or not you’d want to hire an electrician for the job.

Understanding Thermostat Installation

Thermostats are an important component of your HVAC system. These small but powerful devices help regulate the temperature of your home or business. The best part is that they are programmable – meaning you can set them to turn on and off based on the temperature of your space. As such an important piece for your comfort and energy efficiency – it’s important to make sure that they are properly installed and in good & working order. Here are some key components to understanding what Thermostat installation involves.

Installing a thermostat involves handling electrical wiring and ensuring compatibility with your home’s HVAC system. While many modern thermostats are designed for easy DIY installation, there are instances where professional assistance is necessary.

Below is why you will want to DIY and when to hire a professional:

When to DIY

Simple Replacements: If you’re replacing an old thermostat with a new model of the same type and are comfortable performing basic electrical tasks, you should be able to DIY it. This is particularly true for battery-operated or low-voltage thermostats that don’t require complex wiring. If you’re looking at a simple replacement, take a look at the instructions provided with your replacement thermostat. If you find yourself confused or unsure – it’s always best to contact a licensed electrician for help.

Smart Thermostats: Many smart thermostats come with detailed instructions and support hotlines to assist homeowners with DIY installation. If your home already has a standard wire (C-wire), installing a smart thermostat can be relatively straightforward. Adding in the assistance that many companies provide gives many homeowners the added assurance of being able to install a thermostat themselves.

When to Call an Electrician

Lack of a C-wire: Many smart thermostats require a C-wire to provide continuous power. If your current thermostat setup doesn’t have a C-wire, you may need an electrician to run one, ensuring your new thermostat functions correctly.

Complex HVAC Systems: Homes with multi-stage heating and cooling systems, heat pumps, or other complex HVAC configurations may require the expertise of an electrician to ensure the thermostat is correctly installed and configured.

Safety Concerns: If you’re uncomfortable working with electrical wiring or need clarification on your ability to follow the installation instructions safely, it’s best to hire a professional. An electrician can handle the installation efficiently and safely, ensuring your peace of mind.

The Benefits of Professional Installation

Hiring a professional electrician, like our team at Reyff Electric, to install your thermostat offers several advantages:

Expertise: Our certified electricians have the knowledge and experience to handle any unexpected challenges during installation, such as outdated wiring or compatibility issues.

Safety: Working with electrical systems can be dangerous. That’s why certified electricians follow strict safety protocols to prevent accidents and damage to your home.

Efficiency: An electrician can ensure that your thermostat is installed correctly the first time, saving you time, hassle and potential issues down the road.

Peace of Mind: Knowing that your thermostat is installed correctly and safely can give you confidence in its performance and longevity.

Whether you’re looking for an upgraded thermostat or your previous one has issues and you need a repair or replacement – Reyff Electric is here to help. Our team of certified electricians can handle all aspects of thermostat installation, from evaluating your current system to installing and configuring your new thermostat.

Contact us today to ensure your home’s comfort and safety are in expert hands.

Categories
Uncategorized

Failed Before You Start? Key Electrical Issues That Lead To Inspection Failures

Failed Before You Start? Key Electrical Issues That Lead to Inspection Failures

Untitled design-13

Have you ever worried that your home might fail an electrical inspection? You’re not alone. Many homeowners find themselves facing this nerve-wracking situation, often at important times like during a home sale or after a major renovation or remodel. It’s important to understand the common issues that might cause a failed electrical inspection.

Common Electrical Issues That May Lead To Inspection Failures

Electrical inspections are thorough processes designed to ensure safety and compliance with local building codes. Whether you are a homeowner looking to sell, a potential home buyer or looking to ensure the safety of your family after you’ve renovated – Here are some of the most common issues that can cause your home to fail an electrical inspection:

Outdated Wiring Systems – Homes with outdated wiring systems, such as knob and tube or aluminum wiring, often fail inspections. These systems can be dangerous, posing fire hazards and other safety risks. Upgrading to copper wiring can ensure safety and compliance.

Improper Grounding and Bonding – Grounding and bonding are critical for preventing electrical shocks and fires. Inspectors often find that older homes lack proper grounding systems. Ensuring that your electrical system is correctly grounded and that all components are securely bonded is crucial.

Overloaded Circuits – Each circuit in your home is designed to handle a specific amount of electrical load. Overloaded circuits are a common issue, especially in older homes that haven’t been updated to accommodate modern electrical demands. Upgrading your service panel can provide more circuits and reduce the risk of overloading.

Faulty GFCI Protection – Ground Fault Circuit Interrupters (GFCI) are required in areas with high moisture, such as bathrooms and kitchens. These devices protect you from electrical shock by breaking the circuit when they detect ground faults. Missing or faulty GFCI protection is a significant red flag during inspections.

Lack of AFCI Protection – Arc Fault Circuit Interrupters (AFCI) are designed to prevent electrical fires by shutting off the current when they detect dangerous arc faults in circuits. Homes without adequate AFCI protection often fail inspections, particularly in bedrooms and other living spaces where these devices are now mandated.

Preventing Failures Before They Happen

Electrical Inspections don’t have to be something that you dread. If you’re looking to ensure that your home will pass an electrical inspection, there are some simple and proactive steps you can take:

Hire a Qualified Electrician – Regular check-ups by a licensed electrician can catch many potential issues before they become major problems or cause a failed inspection. This is especially important if you live in an older home or have made significant electrical modifications.

Update Your Home’s Electrical System – Consider a full electrical upgrade if your home still relies on outdated electrical systems. This can be a significant investment but is an important step for both safety and compliance.

Install Necessary Safety Devices – Ensure that all required safety devices, including GFCI and AFCI protection is in place and fully functional. Regular testing and maintenance of these devices can prevent an electrical inspection failure.

Understand Local Electrical Codes – Building codes vary by location. You should familiarize yourself with the specific requirements in your area to avoid any potential surprises during an inspection.

What To Do After A Failed Inspection

If your home fails an electrical inspection, it’s important to take immediate and appropriate actions to ensure safety and compliance. Here are the essential steps to follow:

Review the Inspection Report – Carefully go through the inspection report with a local, licensed electrician to understand all the issues cited. This report will provide details for every problem that has to be addressed and can serve as a checklist for the next steps.

Prioritize Repairs – Some issues may be more important than others, especially those that pose immediate safety risks. Prioritize these repairs to ensure safety and compliance. Your electrician can help you determine which issues to tackle first.

Hire a Qualified Electrician – For the repairs, it’s important to hire a licensed electrician who is familiar with your local codes and standards. DIY fixes are not advisable for most electrical work due to the complexity and safety risks involved.

Schedule a Follow-Up Inspection – Once the necessary repairs are completed, schedule a follow-up inspection to verify that all issues have been properly addressed. 

Keep Documentation – Keep records of all repairs and correspondence related to the inspection and follow-up. This documentation can be useful for future reference, especially if you plan to sell the home.

If you need a professional electrical inspection, or are looking for a local electrician that can help address any problems after a failed inspection – call Reyff Electric today. We’ve been providing residential & commercial electrical services to home and business owners for over 40 years throughout Northern California. Contact us today.

Categories
Uncategorized

6 Benefits Of Ceiling Fans And Why You Should Have One

6 Benefits Of Ceiling Fans And Why You Should Have One

A stylish ceiling fan in a living room

Ceiling Fans have come a long way. They are an inexpensive alternative to constantly running your air conditioning or your heater, a great way to add some style to your space and enhance your lighting. Here are 6 benefits of having a ceiling fan in your home and why you should have one

Ceiling fans are pretty much the unsung heroes of keeping cool and adding some flair to your room. Imagine it’s a hot summer day, and instead of turning up the AC and watching your electricity bill skyrocket, you switch on your ceiling fan. It’s like having a personal breeze that makes the room feel cooler without actually dropping the temperature. Plus, when winter rolls around, just switch its direction, and it’ll help push warm air down from the ceiling to keep you cozy without cranking up the heat.

1. Saves You Money

Ceiling fans are like your personal discount on your air conditioning or heating bill. Running an AC all day can make your electricity bill pretty scary. A ceiling fan? Not so much. It cools you down without greatly increasing the cost of your monthly electric bill.

2. Cools You Off

This one’s obvious. Ceiling fans give you a breeze that makes a hot room feel more bearable, without the need for turning the whole house into a refrigerator. If you or your family are in one room, why cool the entire house? A ceiling fan helps cool you off in the room that you’re in – not everywhere else.

3. Year-Round Comfort

Some people have the misconception that a ceiling fan is just meant for cooling you off – it’s not. During the winter or colder months – just flip the switch and your ceiling fan can push warm air down from the ceiling – remember, heat rises. When you change the direction your ceiling fan is rotating, it gently moves warm air lower into the room, making it a more comfortable place to be during the winter time without using your heater.

4. Adding Style

Ceiling fans aren’t just functional pieces – they can add a level of flair to your room. There are plenty of different style ceiling fans these days, so you can find one that matches your rooms look – whether that’s sleek and modern or rustic and cozy.

5. Fresh Air Flow

Ceiling fans help move air around your room. Moving air means less stale air and fewer allergens floating around. This is an especially important benefit for those who deal with allergies, or just those who like breathing in fresh instead of stale or stagnant air.

6. Added Lighting

Many ceiling fans today have lighting built right in. This is especially beneficial for rooms that tend to be a bit under-lit. This added lighting also comes without the cost of taking up more useable footprint in your room. 

6. Versatility

Ceiling fans aren’t just for inside your house, they can be used outside as well. Whether indoor or outdoor, a well placed ceiling fan shares the same benefits for either space.

At the end of the day, what’s not to love about ceiling fans? They save you money, keep you comfortable, increase lighting to your area, add a touch of style, and even make your air feel fresh and not stagnant. So next time you’re thinking of ways to beat the heat or just give some more style to your room, don’t overlook the idea of adding a ceiling fan.

Ready To Add A Ceiling Fan?

If you’re ready to install a ceiling fan in your home or outdoor space – Reyff Electric has been providing residential and commercial electrical services in Sonoma, Solano, Napa and Marin Counties for over 40 years. Give us a call or request a service today and experience these 6 awesome benefits of having a ceiling fan in your space.

Categories
Uncategorized

The Ultimate Guide to GFCI Outlets: What They Are and Why You Need Them

The Ultimate Guide To GFCI Outlets

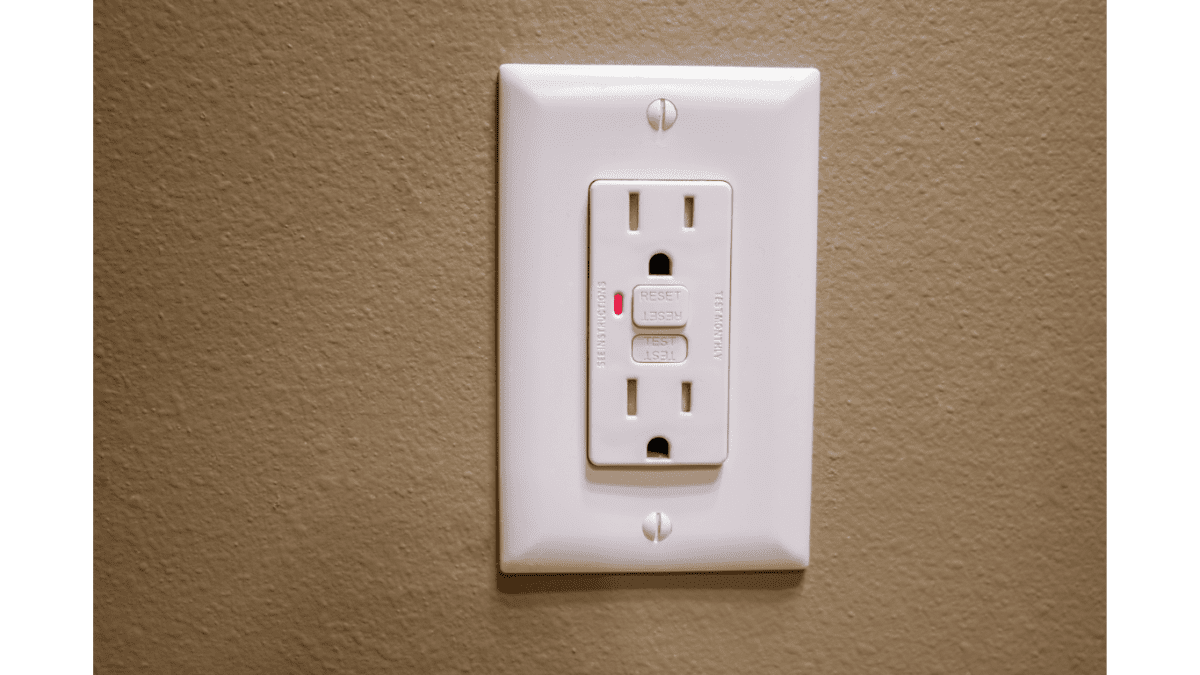
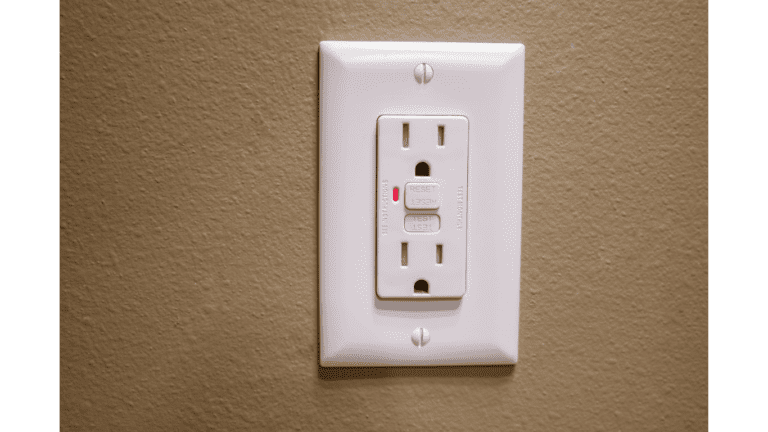
a GFCI outlet installed

Ever wondered what makes GFCI outlets a must-have in kitchens and bathrooms? GFCI (Ground Fault Circuit Interrupter) outlets are the unsung heroes in the battle against accidental electric shocks. Here’s all you need to know about GFCI outlets and why you need them.

Understanding GFCI Outlets

GFCI outlets are designed to protect against accidental electrical shock by monitoring the amount of electricity flowing in a circuit and tripping the circuit if they detect an imbalance. An imbalance in the flow of electricity happens when the electricity flows through an unintended path – like water or even a person. By cutting off the power when detecting an imbalance, GFCI outlets can help reduce the risk of accidental electrical shocks.

GFCI Outlets are important for a few reasons.

Why GFCI Outlets Are a Must-Have

  1. Preventing Electrical Shocks: The primary role of a GFCI outlet is to prevent electrical shock injuries, which can be severe or even fatal. They are especially important in areas where the risk of electricity coming into contact with water is high. 

  2. Code Compliance: Building codes in many areas require GFCI outlets in new construction and during major renovations, especially in rooms with a water source. 

  3. Protecting Appliances: By preventing ground faults, GFCI outlets also help protect your appliances from damage, prolonging their life and saving you money in the long run.

How Do GFCI Outlets Work?

GFCI outlets monitor the electrical current in a circuit by comparing the input current on the hot side to the output current on the neutral side. In a properly functioning circuit, these currents are equal. However, if the GFCI detects a discrepancy as small as 4 or 5 milliamps, it will quickly cut off the power to prevent potential shock.

Installation and Testing

While GFCI outlets can be slightly more expensive than standard outlets, installing a GFCI is an important investment for home and business owners – both for safety and for compliance. While installing a GFCI outlet may not be too difficult for some, it’s strongly recommended to have them professionally installed to ensure they are correctly integrated into your home’s electrical system.

Testing your GFCI outlets is a relatively straightforward and simple test. You’ll notice two buttons on a GFCI outlet, one that says “Test” and one that says “Reset”. In order to test if a GFCI outlet is working – simply push the “Test” button. This should cut power to the device that is currently plugged in. To reset the GFCI outlet,  and allow the power to be restored – simply push the “Reset” button.

Where Should GFCI Outlets Be Installed?

GFCI outlets should be installed in any area where electricity and water may come into contact with one another. This includes:

  • Bathrooms
  • Kitchens
  • Garages
  • Unfinished basements
  • Outdoor areas
  • Any location near a sink

GFCI Outlets – Do I Need Them?

The answer to this question is a resounding – yes! GFCI outlets are an important safety device that protects your home and your loved ones. Their ability to prevent electrical shock and comply with building codes makes them an important upgrade for modern electrical systems. Whether you’re building a new home, renovating an old one, or simply looking to enhance your safety measures, including GFCI outlets in your plan is a wise and potentially life-saving decision. Remember, when it comes to electricity, the best offense is a good defense, and GFCI outlets provide just that.

GFCI Installation At Reyff Electric

If you’re looking to add or replace GFCI outlets in your home or business, Reyff Electric can help. At Reyff Electric, we provide residential electrical services throughout Northern California including Sonoma, Solano, Napa & Marin Counties. We’ve been serving Northern California with quality electrical services for over 40 years. If you’re looking to increase your safety and ensure compliance with GFCI outlet installation – contact Reyff Electric today. 

Categories
Uncategorized

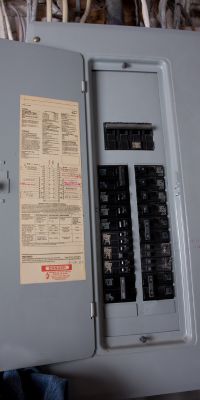
How to tell if a breaker is bad

How To Tell If A Breaker Is Bad

Electrical issues in your home can be more than just a minor annoyance; they can actually be indicators that you have deeper issues going on with your electrical system. If you’re dealing with lights flickering, appliances not running at times, or circuit breakers that are tripping often – you may have a bad breaker.

Your circuit breaker is an important part of your home or business – Its primary function is to act as a safety device that helps to prevent electrical overload and potential fires. Here’s how it works:

  1. Current Regulation: Your circuit breaker allows electrical current to flow from the power source (like a utility line) through an electrical circuit (like your home’s wiring). It ensures that the electricity is safely distributed to various outlets and appliances throughout your home or business.
  2. Overload Protection: Each breaker is designed to handle a certain amount of current, measured in amperes (amps). If the current flowing through that circuit exceeds the breaker’s capacity, it can cause the wiring to overheat, posing a fire risk. A circuit breaker helps to prevent this by automatically “tripping” or shutting off the flow of electricity when it detects an overload. This can happen, for instance, when too many appliances are used simultaneously on the same circuit.
  3. Short Circuit Protection: A circuit breaker also protects against short circuits, a more dangerous situation where a hot wire comes into contact with a neutral wire, leading to an increase of current flow. This increase can often cause a sudden surge of electricity that typically generates a lot of heat and can potentially cause a fire. The circuit breaker detects this surge and immediately cuts off the flow of electricity.
  4. Reset Capability: After tripping, a circuit breaker can be manually reset to resume normal operation. This reset function makes it more convenient and practical compared to a fuse, which needs to be replaced once it blows due to an overload or short circuit. You may have had to reset your breakers at the breaker box before, thankfully circuit breakers are often located in relatively convenient locations so you can reset them after tripping.
  5. Maintenance and Safety: Circuit breakers also provide a convenient way to shut off power to individual circuits for maintenance or in emergencies. For example, if you’re replacing an outlet or light fixture, you can turn off the electricity to that area without affecting the rest of the building.

Your circuit breaker plays a pivotal role in your home or business’ electrical system – so the question remains, how can you tell if a breaker is bad? Here are 5 indicators that your breakers may be bad and ultimately need replacing.


How To Identify A Bad Breaker

Breaker Doesn’t Stay Reset

If your breaker doesn’t stay reset, this could indicate a problem with the breaker itself. When a breaker trips, it’s a safety mechanism designed to protect the circuit from overloading and preventing potential electrical fires. However, if the breaker consistently trips or fails to stay reset, it may be a sign of a bad breaker. A bad breaker can happen because of a variety of reasons, such as wear and tear, faulty wiring, or internal damage. It’s important to address this issue quickly to avoid further damage to your electrical system.

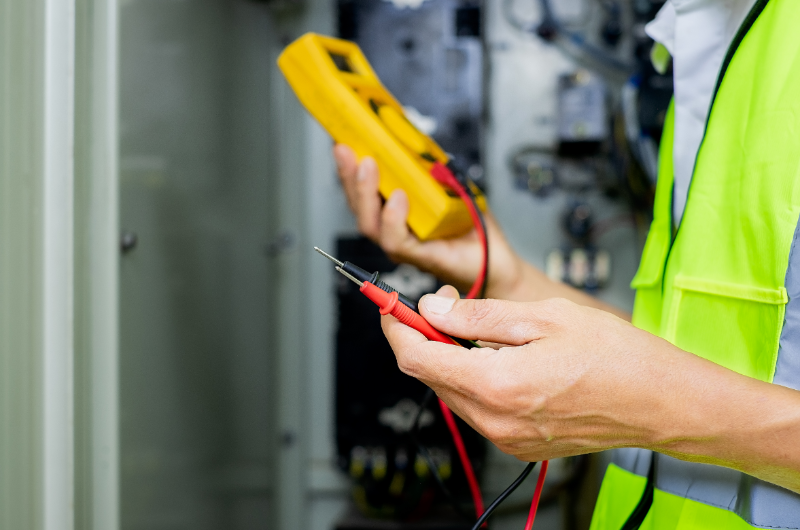
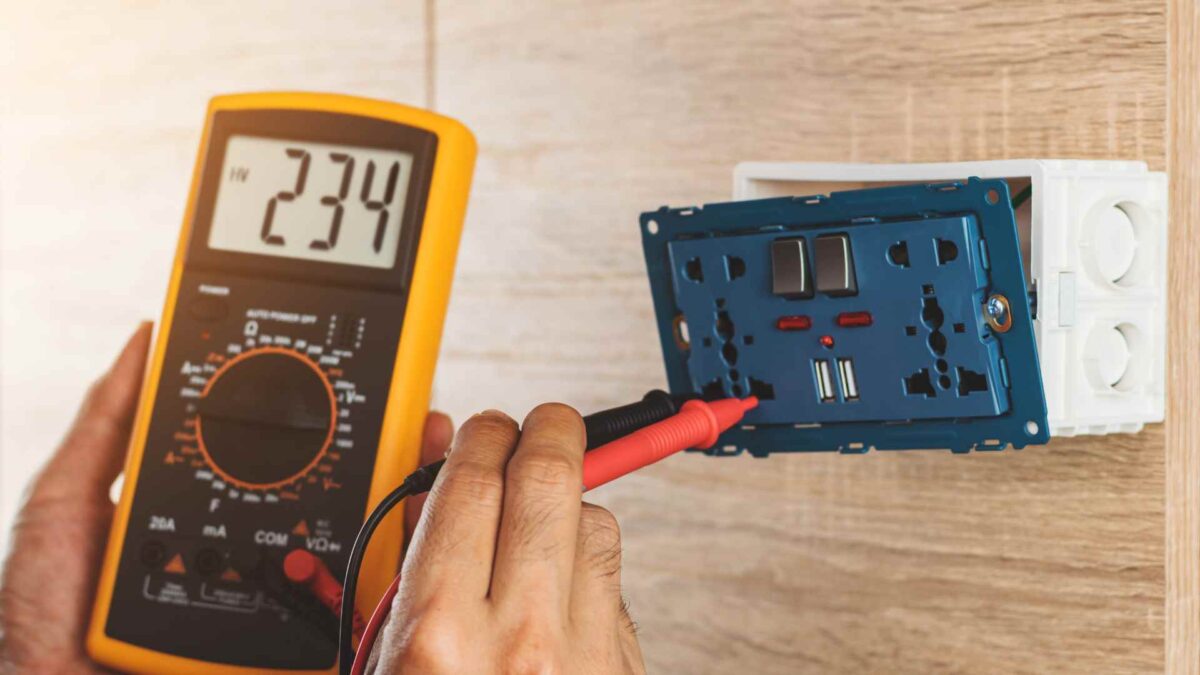
To determine if the breaker is the issue, you can do a relatively simple test. Start by turning off all devices connected to the breaker and opening the panel cover on the breaker box. With a digital multimeter, test the voltage levels by placing the red probe against the screw on the breaker being tested and the black probe against the neutral bar. Compare the reading on the meter to the breaker requirements. If the reading doesn’t match the expected voltage, it’s likely that you have a bad breaker.

If the breaker is bad, it needs to be replaced. To do this, you can simply turn off the main power supply, remove the faulty breaker, and install a new one of the same size and type.

Burning Smell

A burning smell coming from your electrical panel box is a clear indication of a potential issue with the circuit breaker. As a home or business owner, immediate action should be taken to ensure your safety. Ignoring a burning smell from the electrical box can lead to fire hazards, so immediate action is necessary to prevent further damage.

IF you’re experiencing a burning smell from your breaker box, you’ll want to immediately shut off the main power supply to your home and call a professional to help assess and remedy the issue by removing and replacing the bad breaker.

Hot to the Touch

When a circuit breaker or electrical panel box feels hot to the touch, you’ll want to call for professional assistance immediately. A hot circuit breaker could indicate that there is an issue with the electrical flow – brining an increased risk of fire or other hazards.

A breaker becomes hot when there’s an increasingly excessive amount of electrical current flowing through it. This can happen because of a variety of reasons, such as a circuit being overloaded or a breaker being faulty. Excssive heat may indicate that your breaker is struggling to handle the electrical load.

Again, if you notice any heat coming from the breaker or panel box, you’ll want to contact a local electrician immediately. They’ll be able to assess the situation and determine the cause of the heat.

Visible Damage

Visible damage on a circuit breaker or electrical panel box can indicate potential fire hazards and should never be ignored. If you suspect that you may have a bad breaker, look for visible damage – check for scorch marks, melted plastic, or signs of burning. If you notice any of these visible damages, again, you should call a local electrician immediately. These types of visible damages could be caused by a wire that has melted or overheated, leading to a tripping breaker or even an electrical fire.

If you come across any signs of visible damage, you’ll want to shut off the power immediately. Once the power is turned off, it’s recommended to seek professional assistance to inspect and repair the breaker.

Regular inspection and maintenance of your circuit breakers can help in early identification of potential issues. Preventative maintenance is the best kind of maintenance as it helps limit potentially hazardous and costly situations.

Frequent Tripping

Frequent tripping of a circuit breaker is a common indication that there may be an overloaded circuit or a faulty breaker. When a breaker trips frequently, it disrupts the flow of electricity and cuts off power to the circuit. This can be frustrating and inconvenient as a home or business owner, but it’s an important safety feature that protects against electrical fires and other hazards.

If you notice that a specific switch consistently causes the breaker to trip, it could be a sign of a bad breaker associated with that circuit. Though, if the breaker trips frequently without an obvious cause, it’s more likely that the breaker itself is faulty. In these type of cases, it’s important to address the issue immediately.

To determine if the breaker is indeed faulty, you can try resetting it by moving the switch to the ‘off’ position and then back to the ‘on’ position. If the breaker continues to trip, it’s typically a sign of a bad breaker that needs professional inspection and resolution.

Frequently Asked Questions

How Can You Tell if a Circuit Breaker Needs to Be Replaced?

To tell if a circuit breaker needs to be replaced – you’ll want to pay attention to signs like the breaker not staying in reset mode or emitting a burning smell. If the breaker or electrical panel feels hot to the touch or shows visible damage, it’s time for a replacement.

Additionally, if a specific switch causes frequent trips, that’s a common indicator that there needs to be a replacement as well.

How Do You Test a Breaker to See if It’s Good or Not?

To test if a breaker is functioning properly, you’ll want to follow these steps.

First, disconnect all devices and open the panel cover to your breaker box.

Next, use a multimeter to check the voltage levels. Hold the red probe on the breaker screw and the black probe on the neutral bar.

Compare the reading to the breaker requirements. For single pole breakers, it should be around 120V. A reading of 0V means a faulty single pole breaker.

For double pole breakers, it should be 220-250V. 120V indicates a faulty breaker at half power.

Replace a faulty breaker by turning off power, removing it, and installing a new one.

Can a Breaker Go Bad Without Tripping?

Yes, a breaker can go bad without tripping. If you notice signs like a burning smell, hot to the touch, or visible damage to the breaker box or outlets, it may indicate a bad breaker.

Likewise, if the breaker doesn’t stay in reset mode or frequently trips, it could be a sign of a faulty breaker as well.

To determine if a breaker is bad, you can use a digital multimeter to test the voltage and current levels.

What Happens When a Breaker Goes Bad?

When a breaker goes bad, it can cause serious issues in your electrical system. It may fail to stay in reset mode and trip frequently. You might notice a burning smell, a hot breaker, or visible damage to the box or outlets – ultimately when a breaker goes bad, you’ll want to replace it immediately, not just for the functionality of your home or business but for safety reasons as well.

To determine if a breaker is bad, you can follow steps like testing voltage levels and observing any symptoms of a faulty breaker.

Conclusion

By following the steps outlined in this article, you can easily determine if a breaker is bad and take the necessary steps to replace it.

Don’t ignore the signs of electrical issues in your home as they can become more than a minor inconvenience – they can become a potentially costly and hazardous issue.

Need Professional Help? Call Reyff Electric!

If you’re struggling with a faulty breaker, don’t take the chance. At Reyff Electric, our team of experienced electricians specializes in diagnosing and fixing all your electrical issues. From breaker replacements and electrical panel upgrades to complete electrical inspections, we make sure that your home or business’ electrical system is in complete working order. Don’t wait for minor issues to become major problems. Contact Reyff Electric today for reliable and professional electrical services.
Categories
Uncategorized

Do I Need A Permit To Install An EV Charger

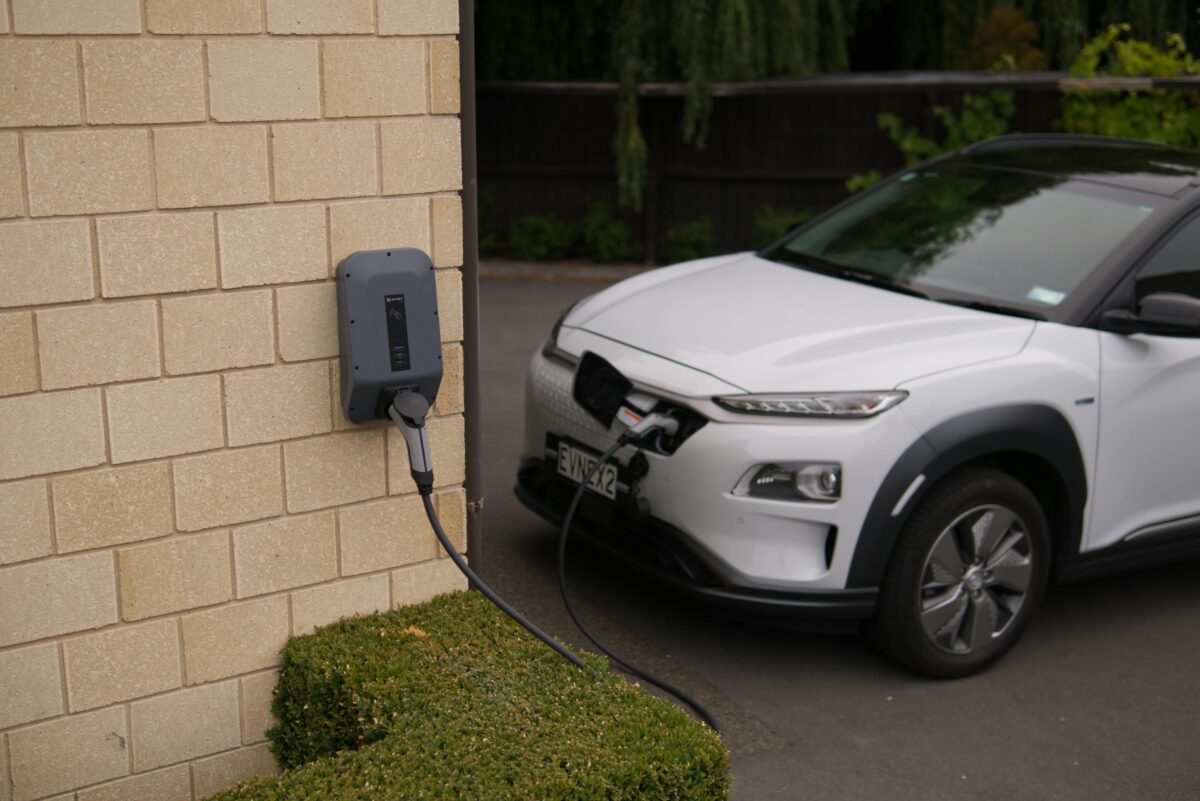
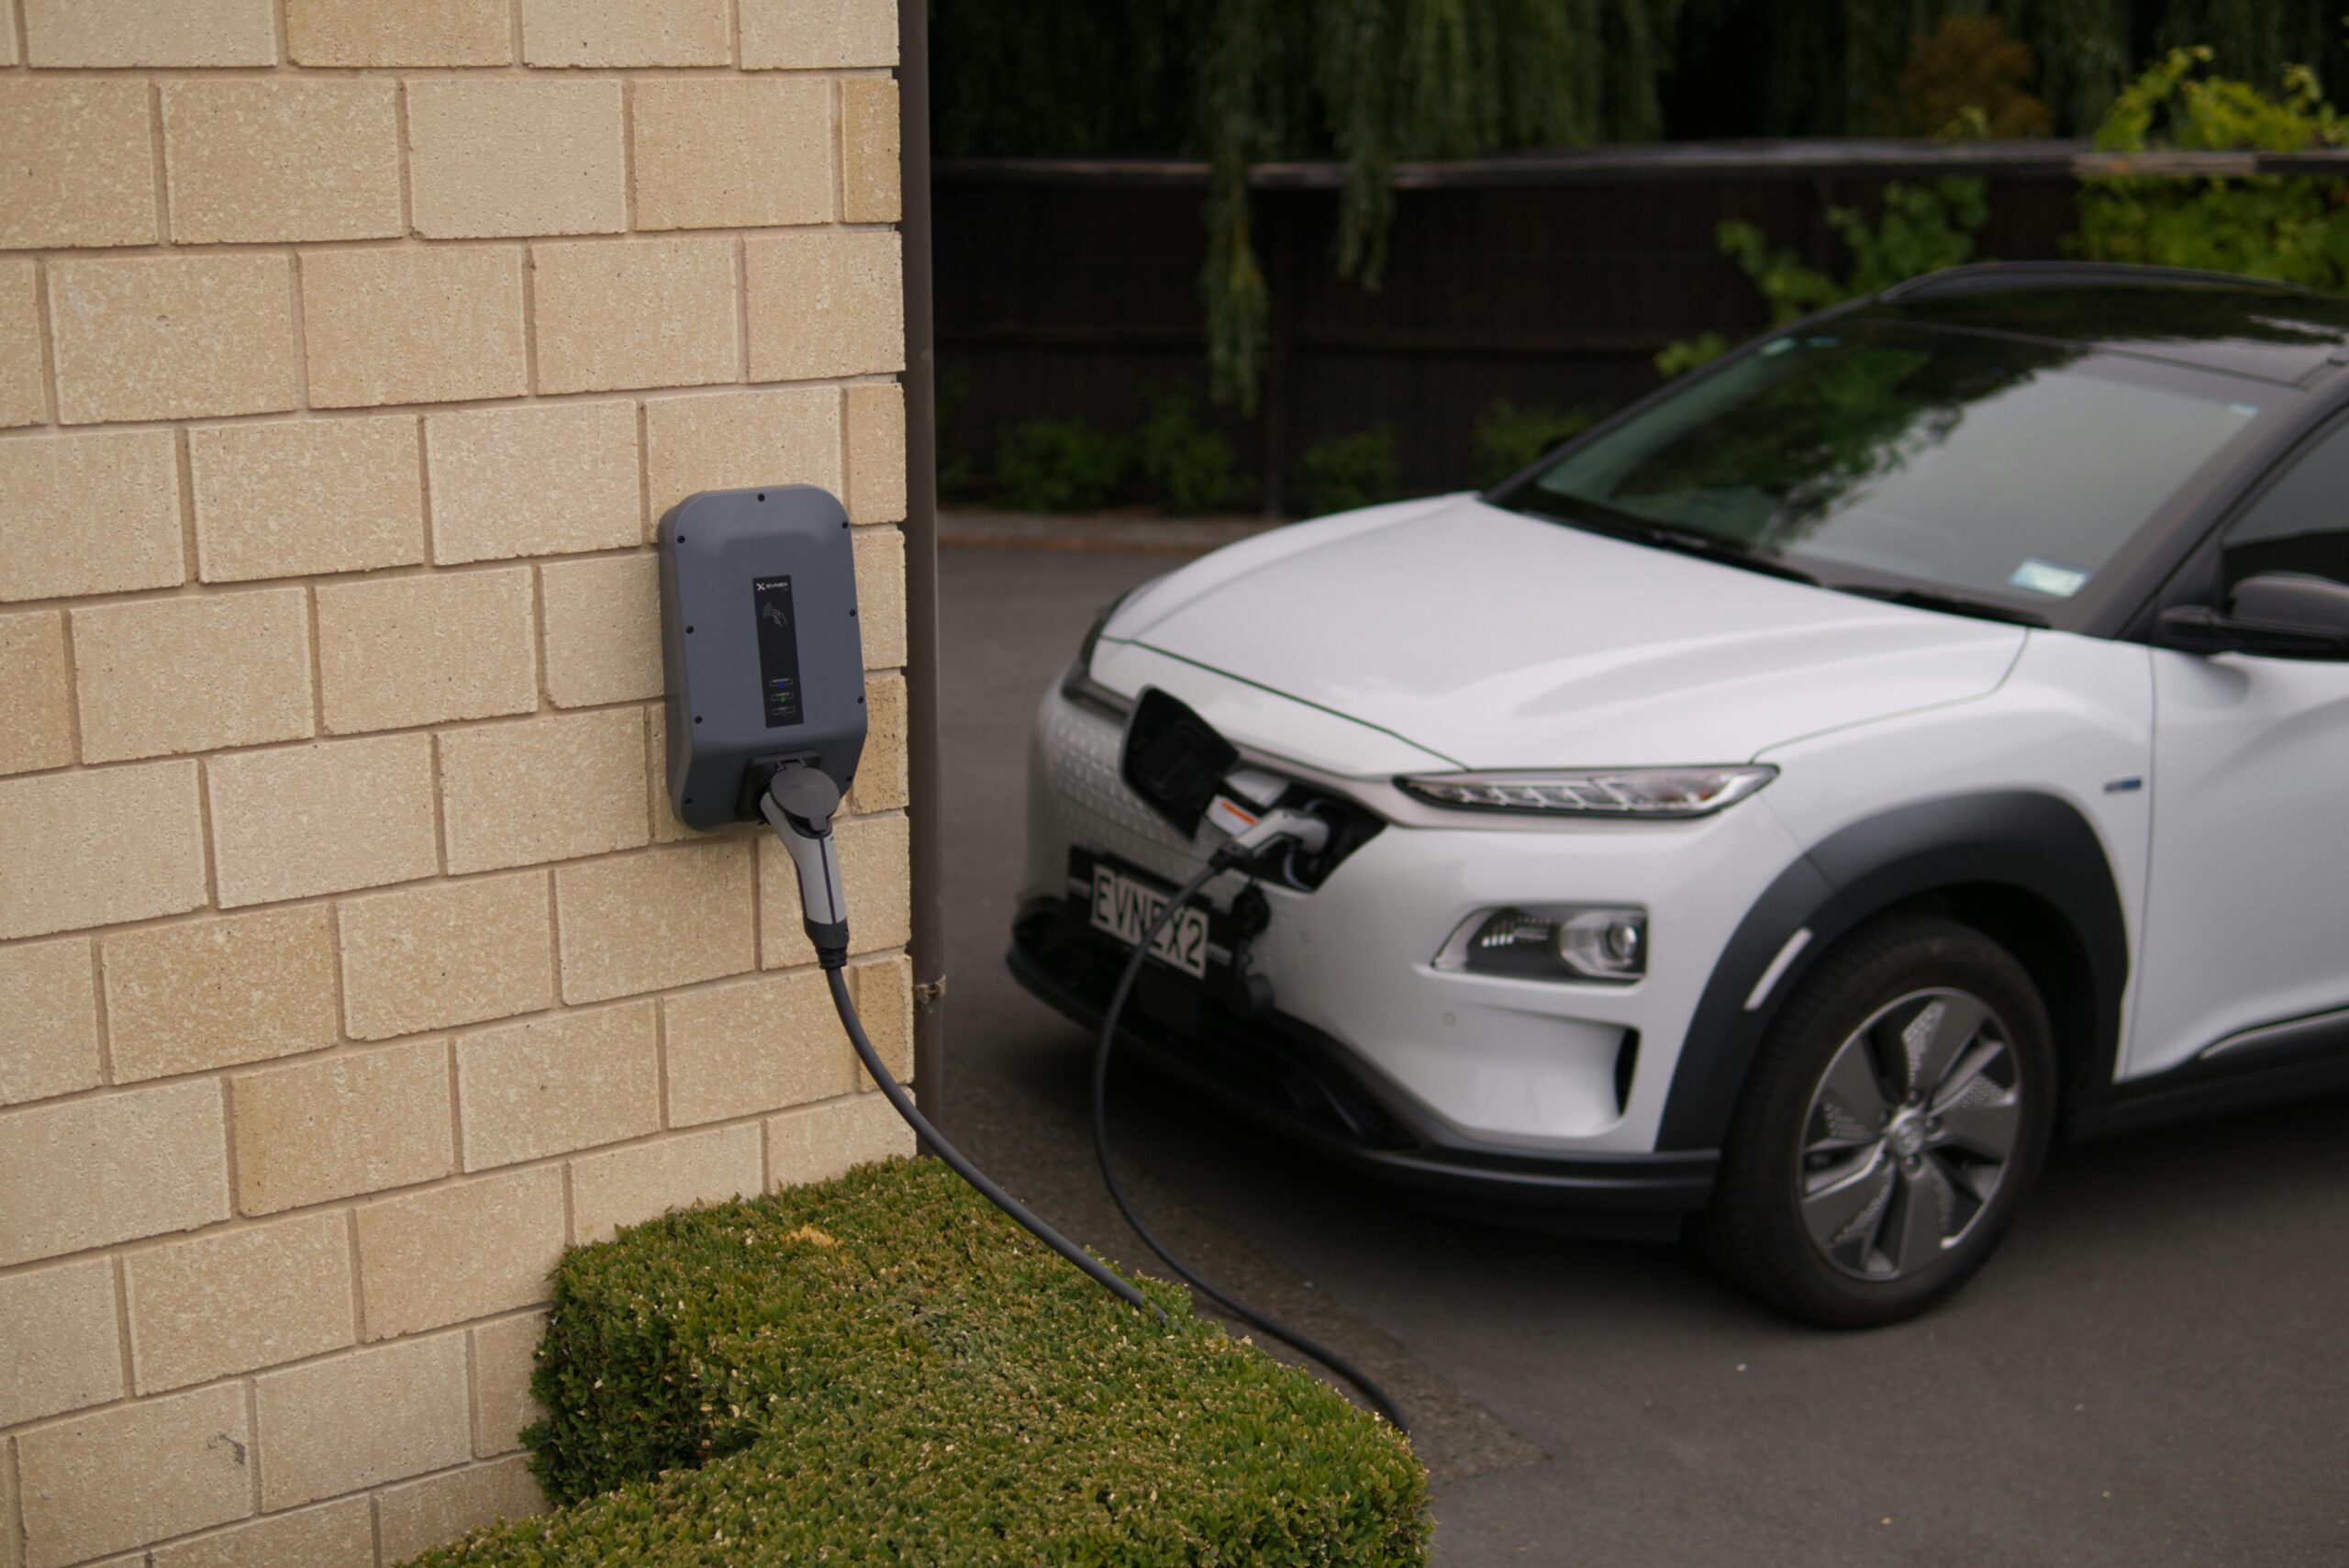
EV Vehicle Charging

Do I Need A Permit To Install An EV Charger?

As electric vehicles (EVs) become increasingly popular, many homeowners may want to consider installing an EV charger to facilitate convenient charging. However, one question most people have is whether a permit is required to install an EV charger at home.

Understanding the regulations and safety implications is crucial, and Reyff Electric Inc. is here to guide you through this process. In this article, we’ll go over why you need a permit to install an EV charger, and the potential implications of not getting one will be obvious.

Understanding the Need for a Permit

The installation of an EV charger involves significant electrical work, including potentially upgrading your home’s electrical system to accommodate the charger. This work can affect the safety of your household and the integrity of your home’s electrical infrastructure.

Consequently, most cities and municipalities require homeowners to obtain a permit before proceeding with the installation. This permit ensures all work complies with local building codes and safety standards.

Why a Permit is Important

There are a couple of reasons why you’d want to get a permit first, including but not limited to the following:

Safety First: The primary reason for requiring a permit is to ensure the safety of the homeowner and the property. Electrical installations, if not done correctly, can pose significant risks, including becoming a fire hazard. That’s why the permit process involves an inspection by a qualified electrical inspector to ensure the installation meets all safety codes.

Compliance with Local Regulations: Local building codes vary, and permits ensure that your EV charger installation complies with these regulations. Non-compliance can result in fines and require you to redo the work, leading to additional expenses.

Insurance Implications: Installing an EV charger without a permit could affect your home insurance policy. In the event of an electrical fire or other related incidents, insurance companies may deny claims if the installation was not permitted and inspected.

The Permit Process

Obtaining an EV charger installation permit typically involves submitting detailed electrical work plans to your local building department. This may include information on the charger model, the proposed location, and how the installation will be integrated into your home’s electrical system.

The complexity of this process underscores the importance of involving a professional electrician who is familiar with the permit application and can ensure that all requirements are met.

Choosing the Right Electrician

Given the complexities involved in installing an EV charger and obtaining the necessary permit, choosing a qualified and experienced electrician is crucial. At Reyff Electric, we specialize in EV charger installations and can handle every aspect of the process, from selecting the correct charger for your needs to obtaining the permit and completing the installation to the highest safety standards.

Our team of certified electricians will ensure that your EV charger is installed correctly, safely, and in compliance with all local regulations. Contact us today to start and take the first step towards convenient and efficient EV charging at home.

Categories
Uncategorized

How to change an electrical outlet

a recently installed electrical outlet

How To Change An Electrical Outlet

Replacing an electrical outlet is a task that many homeowners can accomplish with a bit of know-how and the right tools. However, it’s essential to approach this task with caution and respect for the dangers of electrical work.

Here’s a step-by-step guide on safely changing an electrical outlet, ensuring your home’s electrical systems remain safe and functional.

Safety First

It is essential to consider your safety before undertaking any electrical work. Always turn off the power to the outlet you’re working on at your home’s circuit breaker or fuse box.

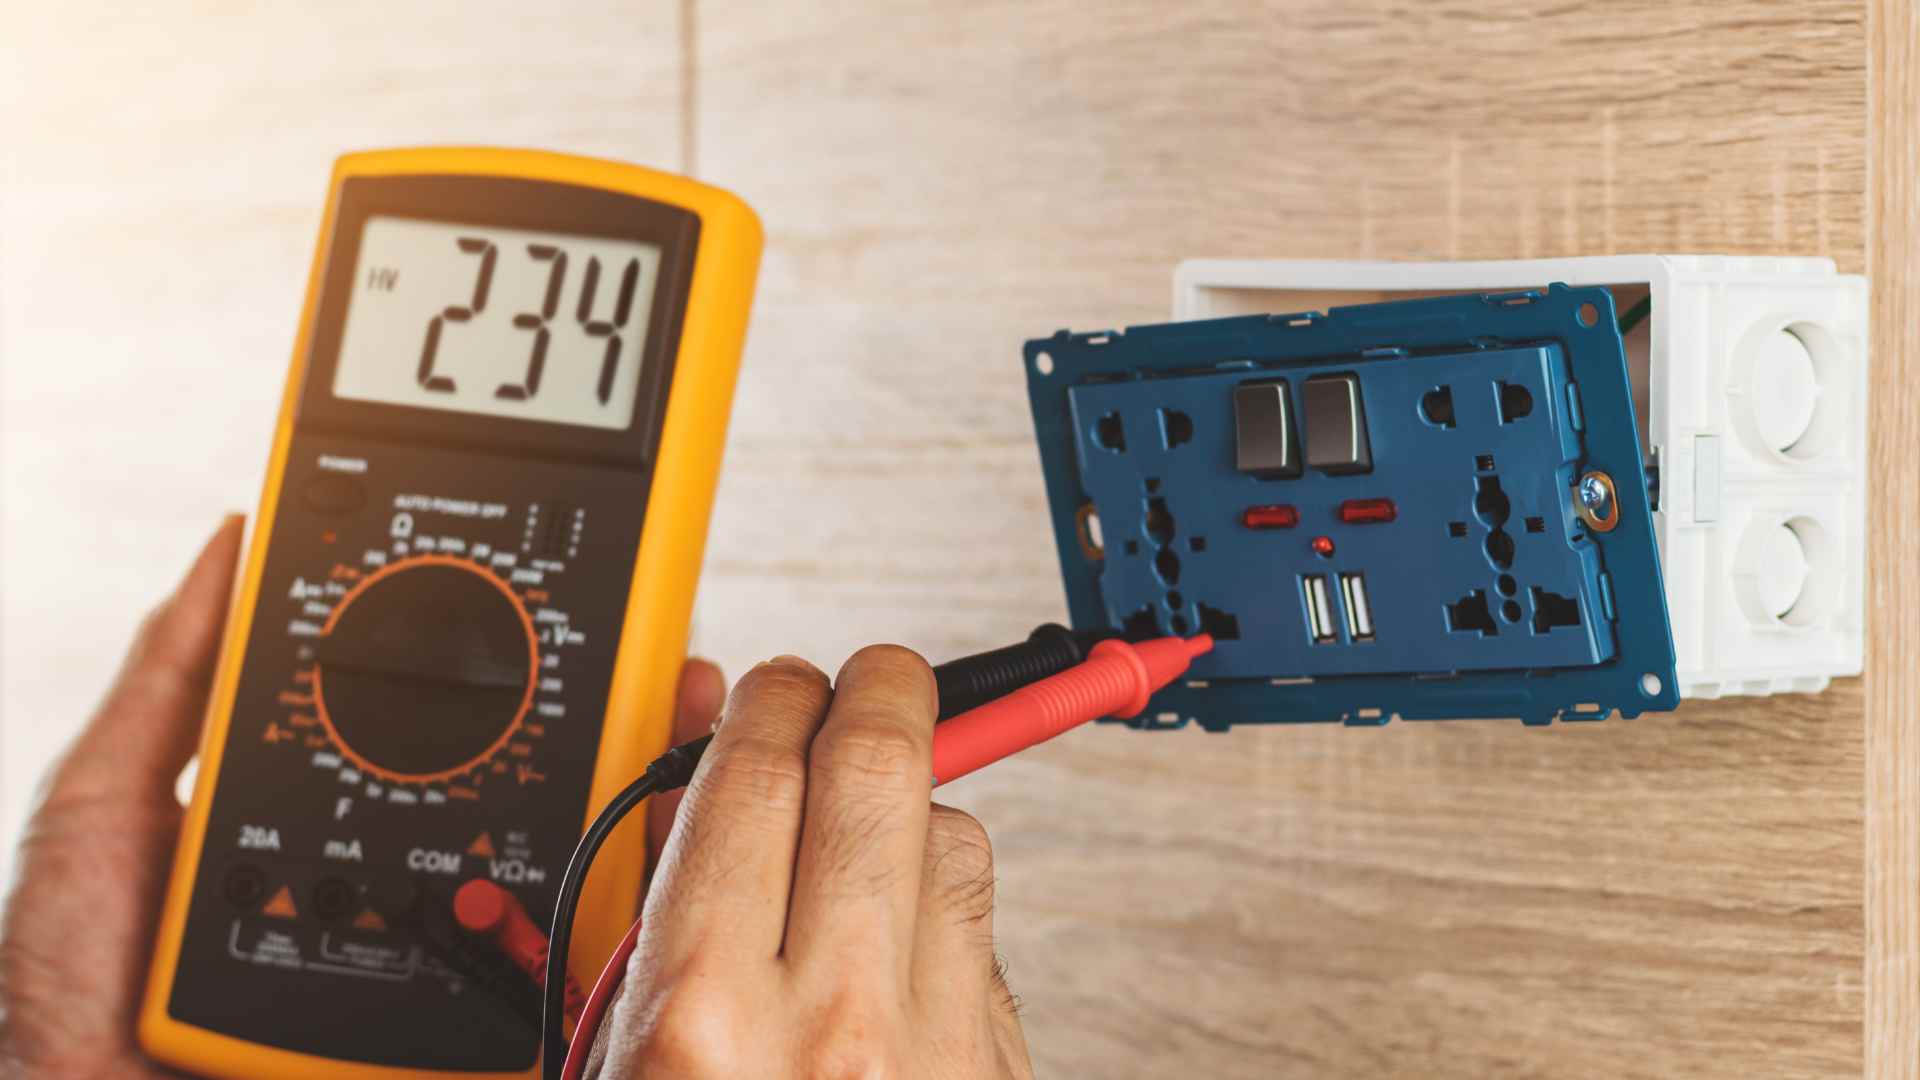
Use a voltage tester or multimeter on the outlet to ensure the power is off. Only proceed if you’re sure there’s power running to the outlet. Plus, you will want to plan every process step before executing it.

How To Replace The Electrical Outlet Walkthrough

Tools and Materials Needed

– Screwdriver (Phillips and flathead)

– Voltage tester or multimeter

– New electrical outlet

– Wire strippers

– Needle-nose pliers

Step-by-Step Guide to Replacing an Electrical Outlet

  1. Turn Off the Power

Locate your home’s circuit breaker or fuse box and turn off the power to the outlet you’re replacing. Labeling circuits ahead of time can save time and confusion.

  1. Remove the Outlet Cover and Outlet

Use a screwdriver to remove the outlet cover, then unscrew the outlet from the electrical box. Gently pull the outlet out to expose the wiring.

  1. Observe the Wiring Configuration

Note how the wires are connected to the old outlet. Typically, black wires (hot) attach to brass screws, white wires (neutral) attach to silver screws, and green or bare copper wire (ground) attaches to the green screw.

  1. Disconnect the Old Outlet

Loosen the screws and disconnect the wires from the old outlet. If the wires are looped around the screws, you may need to cut the wires and strip about 3/4 inch of insulation off the ends with wire strippers for a fresh connection.

  1. Connect the New Outlet

Attach the wires to the corresponding screws on the new outlet—black to brass, white to silver, and green or bare copper to green. Ensure the wires are securely attached and that no bare wire is exposed.

  1. Secure the New Outlet

Carefully fold and push the wires back into the electrical box. Screw the new outlet into the box and attach the outlet cover.

  1. Test the Outlet

Turn the power back on at the circuit breaker or fuse box. Use a voltage tester or multimeter to ensure the outlet is correctly wired and functioning.

When to Call a Professional

While many homeowners feel comfortable performing basic electrical tasks, there are situations where it’s best to call a professional electrician. If you encounter any of the following, consider reaching out to Reyff Electric for assistance:

– Outdated wiring that doesn’t include a ground wire

– Any signs of wire damage or deterioration

– Uncertainty about the wiring configuration and safety procedures

Contact us today to schedule your appointment and enjoy the peace of mind that comes with expert electrical services.
Categories
Uncategorized

Why do my lights flicker and how to fix it

Lighting installations

Why Do My Lights Flicker and How To Fix It

Ever walked into a room, flipped the switch, and your lights started to flicker on an off? It’s pretty common and can be really frustrating, especially when you’re not sure why it’s happening. A lot of people have this issue, and there are relatively straightforward reasons and solutions to fix this problem. We’ll walk you through the usual suspects of why your lights are flickering and how to fix them.

Understanding Why Your Lights Flicker

Common Causes of Flickering Lights

If you have lights that flicker, you’ve probably noticed that it isn’t constant—it comes and goes or happens only at certain times. That’s your first clue. It could be something as simple as a lightbulb that’s not screwed in all the way, or it might be something more serious. Let’s break down the usual culprits:

Loose Bulbs: A bulb that’s not screwed in tightly can lose its electrical connection, causing it to flicker. This is a typical problem that can be fixed easily.

  • Solution: Turn off the light, let the bulb cool down, and then tighten it. If the flickering stops, you’ve found the problem first try.

Voltage Fluctuations: When high-power electrical devices turn on, they can draw a lot of power, causing a dip in the voltage that makes other lights flicker.

  • Solution: If it happens frequently, you might need an electrician to check your home’s voltage levels.

Faulty Light Switches: Sometimes the switch you hit to turn on the lights is the problem. Whether it’s a lose connection or something otherwise, this can be a common reason for flickering lights as well

  • Solution: If wiggling the switch causes flickering, you’ll likely need to replace the switch.

Outdated Wiring: Old or worn-out wiring can also lead to flickering lights and is a fire hazard. If the first 3 solutions haven’t worked for you, this may be a good next step to take in figuring out why your lights are flickering on and off.

  • Solution: This is a job for a professional electrician who can upgrade your home’s wiring safely.

Circuit Overload: Overloading a circuit with too many appliances can cause lights to flicker on and off as well..

  • Solution: Try redistributing your electrical devices to different circuits or consider adding more circuits to your home. A well-trusted electrician in your community can do this fairly easily.

Each of these issues has a fix, but the key is identifying which one is causing the problem in your home or business. Sometimes, it’s a quick DIY fix; other times, it’s best to call in a professional electrician. Either way, understanding what’s behind that flickering is the first step to getting your lights back to normal.

Diagnosing Your Flickering Light Problem Further

If none of the solutions above worked, you’ll need to investigate further. Before you can fix a problem, you need to know what you’re dealing with. Here’s how to figure out the cause of your flickering lights:

Check if it’s a Localized or House-wide Issue: If the flickering is in one lamp or room, the problem is likely with that particular fixture or circuit. If your whole house flickers, it could be a larger issue with the service feed or meter box.

Inspect the Light Bulbs: Different types of bulbs have different quirks. LEDs, for example, may flicker if they’re non-dimmable or if there’s a compatibility issue with the dimming switch.

Monitor for Patterns: Does the flickering happen at a specific time of day or when a particular appliance is in use? Keeping track of this can help pinpoint the cause.

Safety First: If you’re not sure, or if there’s any sign of burning smells or discolored outlets, it’s time to call an electrician. Don’t take risks with electrical issues.

By narrowing down the issue, you can either take the steps to fix it yourself or be well-informed when you bring in a professional to take a look.

Long-Term Solutions for Flickering Lights

Once you’ve pinpointed the cause of the flickering, the next step is to sort out the issue for good. Here’s some long-term solutions that typically, can help you keep your lights from flickering:

Upgrade Your Lighting: If you’re using old incandescent bulbs, consider switching to LED bulbs which are more energy-efficient and less prone to flickering.

Invest in Quality Fixtures: Sometimes, the fixture itself can be the problem. Upgrading to better quality fixtures can improve your home’s lighting and reduce flickering.

Install a Dedicated Circuit: For high-power appliances that cause voltage fluctuations, installing a dedicated circuit can prevent them from affecting your lights.

Regular Maintenance: Have an electrician inspect your home’s electrical system regularly to catch any potential issues early.

Implementing these solutions can not only solve your flickering light problem but also improve the overall electrical system in your home.

Preventive Measures to Maintain Steady Lighting

Once You’ve found the root issue and you’ve taken time to fix it. Taking steps to prevent flickering lights before they start can save you time and hassle. Here’s how you can keep your lights from flickering in the first place:

Ensure Proper Installation: When installing new lights or fixtures, make sure everything is done correctly. Poor installation can lead to loose connections that cause flickering.

  • Action: Follow manufacturer instructions carefully or hire a professional for installation.

Regular Bulb Replacement: Bulbs nearing the end of their life can start to flicker.

  • Action: Keep track of when you installed your bulbs and replace them proactively.

Update Dimmer Switches: Older dimmer switches may not be compatible with newer LED bulbs, leading to flickering.

  • Action: If you’re upgrading to LEDs, replace old dimmers with new models designed for LED use.

Quality Over Price: Choosing the cheapest electrical products can often lead to issues down the line.

  • Action: Invest in reputable brands and high-quality equipment to ensure reliability.

Circuit Breaker Check: A tripping circuit breaker can cause flickering.

  • Action: Check your breakers regularly to ensure they are functioning correctly and not overloaded.

By incorporating these preventive strategies, you can help in maintaining a well-functioning electrical system and reduce the likelihood of flickering lights.

Conclusion

Diagnosing why your lights are flickering doesn’t have to be a major ordeal most of the time. By understanding the common causes, diagnosing the issue, and ultimately applying the right solutions, you can help keep your lights on and steady with no more flickering. Remember to prioritize safety, and when in doubt, be sure to call a professional, trusted electrician to help you.


Categories
Uncategorized

When to upgrade your electrical panel – a guide for homeowners

When to Upgrade Your Electrical Panel: A Guide For Home Owners

In our modern world, electricity powers almost every aspect of our lives. From lighting our homes to operating complex machinery in industries, electricity is an integral part of our daily routines. Your electrical panel, often referred to as a breaker box, is at the heart of this electrical system. It’s responsible for distributing electrical power throughout your home or business. But when should you consider upgrading your electrical panel? In this guide, we’ll take a look at some reasons and signs that indicate it might be time for an upgrade.

Why Upgrade Your Electrical Panel?

Your electrical panel plays a crucial role in ensuring a safe and efficient flow of electricity. Over time, several factors can lead to the need for an upgrade:

1. Safety Concerns:

Older electrical panels may not meet the safety standards of modern electrical systems. They might lack important safety features like ground fault circuit interrupters (GFCIs) and arc fault circuit interrupters (AFCIs). Upgrading can enhance safety by reducing the risk of electrical fires and shocks.

2. Increased Power Demands:

If you’ve added new appliances, expanded or updated your living or working space, or installed energy-intensive equipment, your electrical panel may struggle to meet the increased power demands. Upgrading can ensure your system can handle these demands without overloading.

3. Outdated Technology:

Technology in the electrical field has advanced significantly in recent years. Newer panels are equipped with smart features that allow for remote monitoring and control. An upgrade can bring your electrical system up to date.

4. Home Renovations:

When renovating or remodeling your home, it’s a perfect time to assess the state of your electrical panel. You may need to upgrade to accommodate new lighting fixtures, outlets, or other electrical needs.

5. Frequent Breaker Trips:

If your breakers trip frequently, it could be a sign that your electrical panel is overburdened and has a need for a higher capacity. Upgrading to a larger capacity panel can help to resolve the issue of needing a higher capacity.

6. Insurance and Real Estate Requirements:

In some cases, insurance companies or real estate agents may require an upgrade to meet certain safety standards. This is often the case with older properties.

Signs It’s Time for an Upgrade:

To determine whether it’s time for an electrical panel upgrade, watch out for these signs:

1. Flickering Lights:

If you notice lights dimming or flickering when you use appliances, it may indicate an inadequate electrical panel.

2. Overheating Panel:

An electrical panel that feels hot to the touch is a clear sign of a problem. Overheating can be a precursor to a potential fire hazard for your home or business.

3. Frequent Circuit Overloads:

If you frequently experience circuit overloads and need to reset your breakers, it’s time to evaluate your electrical panel’s capacity.

4. Burning Smell:

A burning smell where your panel is located is a serious concern and should be addressed immediately. It could indicate overheating or other issues that require immediate and even emergency attention.

5. Age of the Panel:

Like all things, electrical panels have a lifespan. The lifespan of a healthy panel is usually around 25-40 years. If your panel is approaching this age range, it’s a good time to consider an upgrade.

The Upgrade Process

Upgrading your electrical panel is not a DIY project. It requires the expertise and experience of a licensed electrician. Here’s what the upgrade process generally involves:

1. Assessment:

An electrician will assess your electrical needs and the condition of your current panel. They’ll determine the appropriate panel size and any other necessary improvements.

2. Local Permits:

In most cases, a permit from your local authorities is required for an electrical panel upgrade. Often times, your electrician may handle the permitting process.

3. Shutting Off Power:

Before any work begins, your electrician will shut off power to the panel to ensure safety throughout the transition from your old panel to a new one.

4. Panel Replacement:

The old panel is replaced with a new one, sized to meet your electrical needs. If you are looking forward to a potential remodel or renovate, an increased need for power should be considered before replacement.

5. Wiring and Breaker Replacement:

Often times, wiring and breakers are also replaced to match the new panel.

6. Testing and Inspection:

After the upgrade is complete, the system is thoroughly tested to ensure it functions correctly and safely.

7. Final Inspection:

An inspector from your local authority will review the work to ensure it complies with electrical codes and standards.

8. Restoration:

Once approved, power is restored, and any holes or openings created during the upgrade are properly sealed.

Why Choose Reyff Electric for Your Electrical Panel Upgrade:

When it comes to electrical work, safety, experience and expertise are vital for home or business owners to ensure proper installation. Reyff Electric has been serving the Northern California for over 40 years, providing quality electrical services throughout Sonoma County, Solano County, Marin County, and Sacramento County. Our team of licensed electricians is dedicated to ensuring your electrical system is safe, efficient, and up-to-date.

Our Electrical Panel Upgrade Services Offer:


– Expert assessment of your electrical needs
– Efficient and compliant panel replacement
– Safety measures to protect your property
– Satisfaction guarantee on all our work
– Competitive pricing and free quotes

Don’t wait until electrical issues become a hazard. Contact Reyff Electric today to schedule an assessment and discuss your electrical panel upgrade needs. Your safety and peace of mind are our top priorities.

Remember, an electrical panel upgrade is not just about keeping up with modern technology; it’s about ensuring the safety and reliability of your electrical system. If you’ve observed any of the signs mentioned in this guide or have concerns about your electrical panel, don’t hesitate to call your local licensed electrical contractor. Reyff Electric is here to provide you with expert guidance and service to meet all of your electrical needs.

Categories
Uncategorized

The Importance Of Electrical Safety Inspections

Electrical Safety Inspections

The Importance Of Electrical Safety Inspections

When it comes to the safety of our homes and businesses, we often think about locks on doors and alarms on windows. However, one aspect that is equally, if not more, crucial is often overlooked – the electrical system. Our lives are powered by electricity, and while it’s an essential part of modern living, it also comes with potential risks. This is where electrical safety inspections step in, ensuring that the invisible currents flowing through our walls remain a force for good rather than a source of danger.

What is an electrical safety inspection?

An electrical safety inspection is a comprehensive assessment of the electrical systems within a property, be it residential or commercial. 

An electrical safety inspection is a thorough examination of your home’s electrical system. Trained and certified electricians will look for any potential hazards, such as:

  • Faulty wiring
  • Overloaded circuits
  • Loose or damaged outlets
  • Worn or frayed insulation
  • Deteriorated wiring
  • Improper grounding

 The primary goal is to identify potential hazards, faults, or deficiencies that could compromise the safety of the occupants and the property itself.

The Invisible Dangers of Electricity

While electricity has become an indispensable part of our lives, it’s easy to forget that it’s not just a convenience; it’s a force that demands respect. Faulty wiring, outdated systems, and inadequate installations can lead to a range of hazards, from electrical fires to electric shocks. Unlike other dangers we can see or hear, the threats posed by faulty electrical systems are often silent and invisible until it’s too late.

Protecting Lives and Property

Electrical safety inspections are not just about following guidelines; they’re about safeguarding lives and property. In homes, these inspections can prevent devastating house fires caused by faulty wiring or overloaded circuits. In commercial settings, they can ensure the uninterrupted operation of businesses while protecting employees and customers from potential electrical accidents.

Benefits of Electrical Safety Inspections

  • Early Detection of Problems: Regular inspections allow electricians to identify potential issues before they escalate into major problems. Addressing minor faults early can save you from expensive repairs down the line.
  • Mitigating Fire Risks: Faulty wiring is a leading cause of electrical fires. Regular inspections ensure that your wiring is up to code and not posing a fire risk.
  • Ensuring Compliance: Electrical safety standards evolve over time. Inspections ensure that your electrical systems comply with the latest codes and regulations.
  • Safeguarding Appliances: Electrical surges and faulty outlets can damage your valuable appliances. Inspections help identify issues that could harm your devices.
  • Preserving Property Value: An up-to-date and well-maintained electrical system enhances your property’s value. It also provides peace of mind to potential buyers or tenants.

Who should have an electrical safety inspection?

Everyone should have an electrical safety inspection, regardless of the age of their home. However, there are some people who are more at risk of electrical fires, such as:

  • Homeowners with older homes
  • Homeowners who have had electrical work done by a non-professional
  • Homeowners who have had electrical problems in the past
  • Homeowners with a lot of electrical appliances
  • Homeowners with children or elderly people living in the home

When to Schedule an Electrical Safety Inspection

  • Buying or Selling Property: If you’re buying a new home or commercial property, or selling one, an inspection can uncover any electrical issues before closing the deal.
  • After Major Renovations: Renovations can alter the electrical system. An inspection ensures that the changes are safe and compliant.
  • Every Few Years: Even if you haven’t noticed any issues, it’s wise to schedule an inspection every few years to catch any hidden problems.
  • After a Power Surge or Lightning Strike: Power surges can damage your electrical system. After such events, an inspection can reveal any hidden damage.

Choosing a Reliable Electrical Inspection Service

When selecting an electrical inspection service, it’s crucial to choose a reputable and experienced provider. Look for licensed and certified electricians who have a track record of conducting thorough inspections. A reliable service will not only identify problems but also provide you with a detailed report and recommendations for repairs or improvements.

The Bottom Line

Electrical safety inspections are not an option; they’re a necessity. They provide the assurance that the currents flowing through our walls are not secretly plotting danger. By investing in regular inspections, you’re investing in the safety of your loved ones, your property, and your peace of mind. Remember, it’s not just about preventing accidents – it’s about creating a shockingly safe environment where you can thrive without fear.