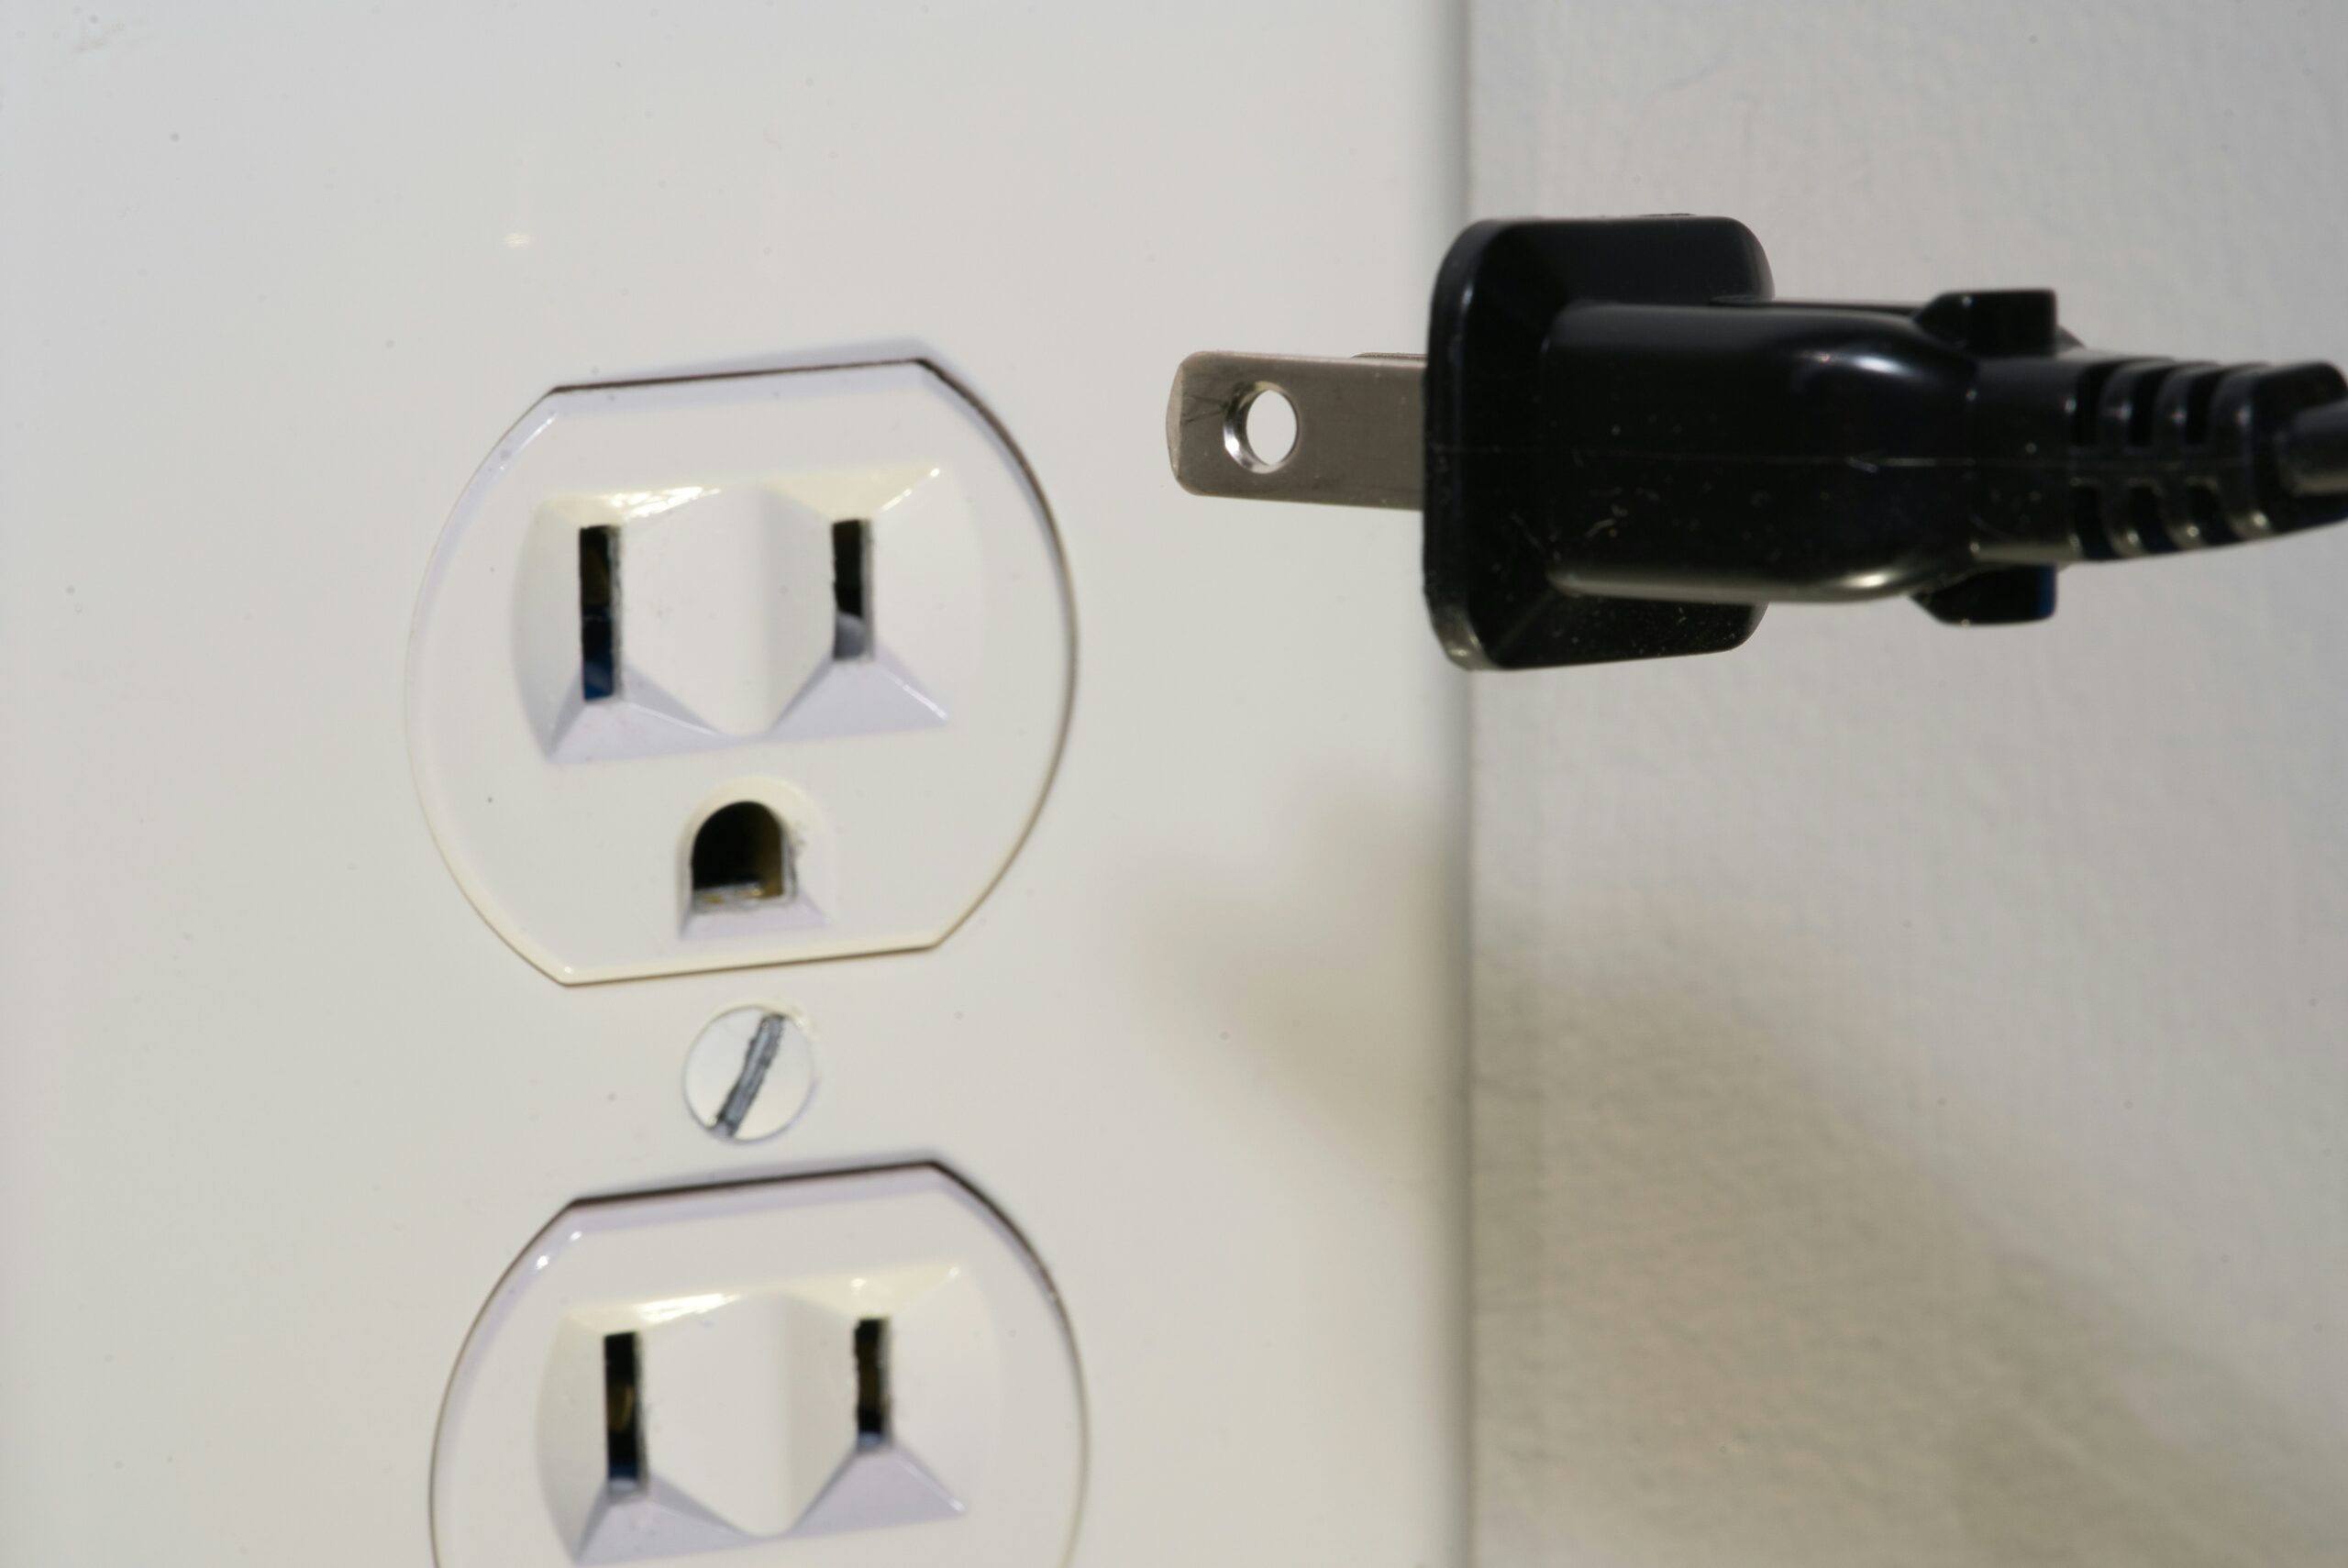
How To Change An Electrical Outlet
Replacing an electrical outlet is a task that many homeowners can accomplish with a bit of know-how and the right tools. However, it’s essential to approach this task with caution and respect for the dangers of electrical work.
Here’s a step-by-step guide on safely changing an electrical outlet, ensuring your home’s electrical systems remain safe and functional.
Safety First
It is essential to consider your safety before undertaking any electrical work. Always turn off the power to the outlet you’re working on at your home’s circuit breaker or fuse box.
Use a voltage tester or multimeter on the outlet to ensure the power is off. Only proceed if you’re sure there’s power running to the outlet. Plus, you will want to plan every process step before executing it.
How To Replace The Electrical Outlet Walkthrough
Tools and Materials Needed
– Screwdriver (Phillips and flathead)
– Voltage tester or multimeter
– New electrical outlet
– Wire strippers
– Needle-nose pliers
Step-by-Step Guide to Replacing an Electrical Outlet
- Turn Off the Power
Locate your home’s circuit breaker or fuse box and turn off the power to the outlet you’re replacing. Labeling circuits ahead of time can save time and confusion.
- Remove the Outlet Cover and Outlet
Use a screwdriver to remove the outlet cover, then unscrew the outlet from the electrical box. Gently pull the outlet out to expose the wiring.
- Observe the Wiring Configuration
Note how the wires are connected to the old outlet. Typically, black wires (hot) attach to brass screws, white wires (neutral) attach to silver screws, and green or bare copper wire (ground) attaches to the green screw.
- Disconnect the Old Outlet
Loosen the screws and disconnect the wires from the old outlet. If the wires are looped around the screws, you may need to cut the wires and strip about 3/4 inch of insulation off the ends with wire strippers for a fresh connection.
- Connect the New Outlet
Attach the wires to the corresponding screws on the new outlet—black to brass, white to silver, and green or bare copper to green. Ensure the wires are securely attached and that no bare wire is exposed.
- Secure the New Outlet
Carefully fold and push the wires back into the electrical box. Screw the new outlet into the box and attach the outlet cover.
- Test the Outlet
Turn the power back on at the circuit breaker or fuse box. Use a voltage tester or multimeter to ensure the outlet is correctly wired and functioning.
When to Call a Professional
While many homeowners feel comfortable performing basic electrical tasks, there are situations where it’s best to call a professional electrician. If you encounter any of the following, consider reaching out to Reyff Electric for assistance:
– Outdated wiring that doesn’t include a ground wire
– Any signs of wire damage or deterioration
– Uncertainty about the wiring configuration and safety procedures
Contact us today to schedule your appointment and enjoy the peace of mind that comes with expert electrical services.

